An Expert’s Guide to the Perfect At Home Manicure

I consider myself an expert in the at home manicure field. I like to think of my nails as an extension of my style and personality, so I enjoy a good manicure. Through all the nail trends of French tips, gel manicures, powder dip nails; I have experimented with styling my nails on my own. I have never had my nails done professionally because of time and the cost of nail appointments. Thankfully, with drugstores and beauty supply shops stocking everything you need to do a manicure at home, I have been able to keep my nails photo ready. Over the last few years of doing my nails myself, I have picked up some tips to get my nails looking salon perfect. Keep reading for my tips on how to get the perfect at home manicure.
TIPS FOR A PERFECT AT HOME MANICURE
A salon perfect manicure starts with a good nail file and nail shaping technique. It’s important to have a sense of which shape you want your nails in– coffin, square, and so on– and create that shape before you go in with any polish. I typically wear my nails with a slightly rounded square and I find that going in one fluid motion with a nail file is the best technique for my nails. Generally, going back and forth can damage your nails by splitting them or leaving them quite brittle.
This step revolutionized at home nail care for me– buffing my nails. I would always look at those buffing blocks with the four different surfaces with confused curiosity every time I saw them in the drugstore. I finally caved and bought one, and used the buffing end and it changed my life. If you want your nails to last, definitely get one of these and always buff your nails before polish. This step removes any grit or buildup on your nails and leaves the surface completely smooth for nail polish application.
Now, before you go in with a nail color, it’s important to first go in with a base coat. Base coats keep your polish from staining your nails, and help your polish last longer. It’s also important to apply in as thin of a layer as possible, and let it dry completely before going in with your nail color. I love the Orly base and top coat and highly recommend that one.
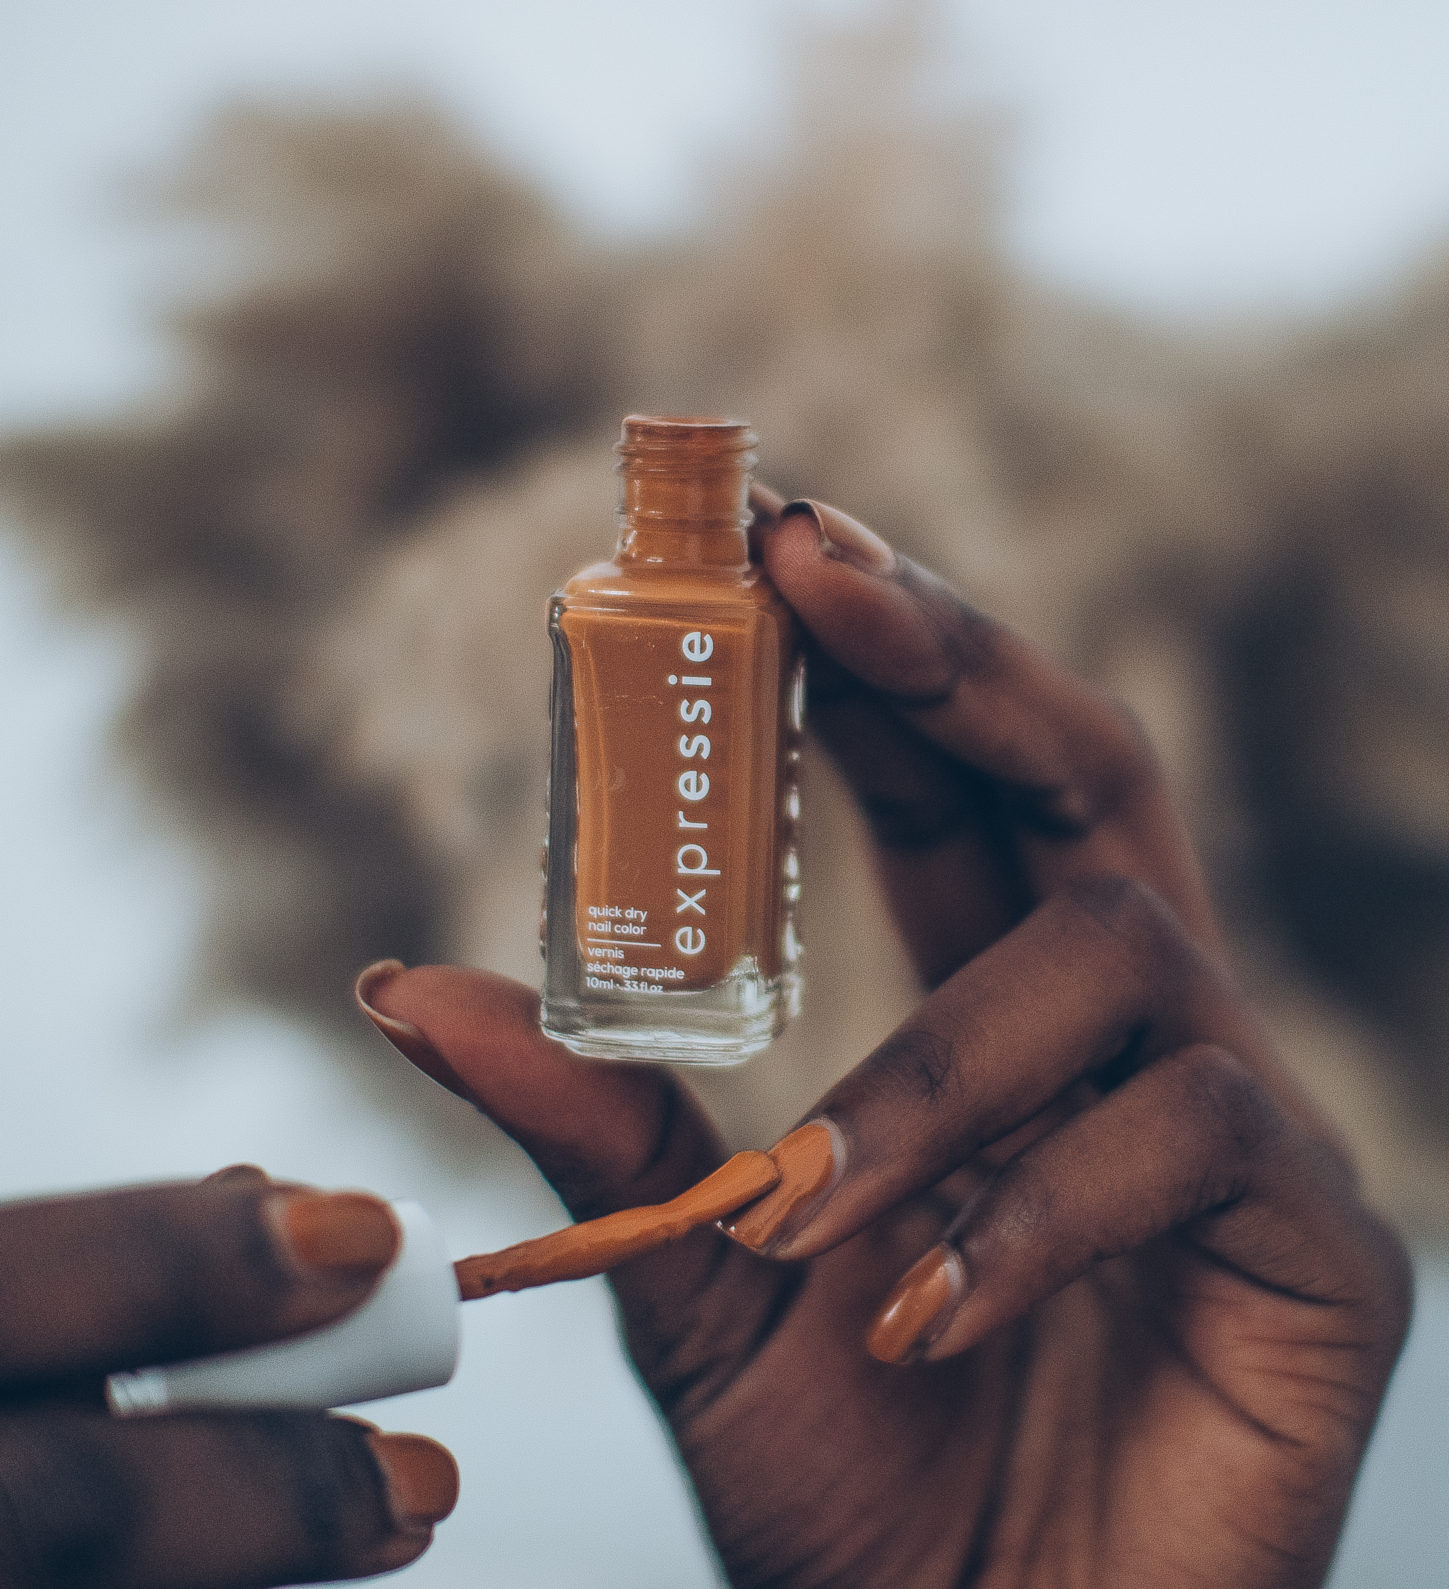
When applying your nail color, you apply that same technique. Apply your polish in as thin of a layer as possible- aim to cover the nail in three strokes at most- and let each layer dry completely if you need to do more than one coat. I used to lay my polish on way too thick and would get bubbles in my polish because the layers were too thick for the polish to dry properly. Learn from my mistakes. I love the Essie nail polishes, they last the longest on my nails without chipping and I love the variety of shades they have to offer. The Sally Hansen Insta Dri polishes are a close second favorite.
I always finish my at home manicure with a layer of a top coat which I follow the same technique with. Apply a thin layer and wait for it to dry completely. I also always have a bottle of nail polish remover and some Q tips on hand to clean up any smudges that might happen in the process.
Those are my expert tips for doing your nails at home and killing that DIY manicure. You can also check out this helpful Refinery 29 article that gives you even more at home nail tips. I hope these steps help you get the at home manicure you’ve always wanted. Don’t forget to share this post if you liked it or found it helpful!
Love,
Amoafoa.
